| 作者 | 修订时间 |
|---|---|
| 2024-01-12 00:01:36 |
基于xray的科学上网
前沿
国内的很多东西都是阉割了的,为了学习还是需要懂得科学上网
准备工具
- docker、docker-compose
- (ubuntu、centos都可以) vps、域名
安装
我已经把 docker 镜像制作好了,所以 很简单的只需要修改几个小地方就可以食用了
安装工具
安装docker:
curl -fsSL https://get.docker.com | bash -s docker --mirror Aliyun
安装docker-compose:
curl -L https://get.daocloud.io/docker/compose/releases/download/v2.4.1/docker-compose-uname -s-uname -m > /usr/local/bin/docker-compose
docker开机自启动:
systemctl start docker && systemctl enable docker
配置配置文件
新建文件夹
新建文件夹后添加以下标题的文件
config.json、ssl(目录)、start.sh、web.conf
mkdir conf/
config.json
xray的配置文件,将里面的id、证书名称替换成你的,其他的不需要动
{
  "log": {


    "loglevel": "warning"
  },
  "inbounds": [
    {
      "port": 443,
      "protocol": "vless",
      "settings": {
        "clients": [
          {
            "id": "这里需要填写你的id",
            "flow": "xtls-rprx-direct"
          }
        ],
        "decryption": "none",
        "fallbacks": [
          {
            "dest": 60000,
            "alpn": "",
            "xver": 1
          },
          {
            "dest": 60001,
            "alpn": "h2",
            "xver": 1
          }
        ]
      },
      "streamSettings": {
        "network": "tcp",
        "security": "xtls",
        "xtlsSettings": {
          "minVersion": "1.2",
          "certificates": [
            {
              "certificateFile": "/conf/ssl/这里需要填写你的证书公钥名称.crt",
              "keyFile": "/conf/ssl/这里填写你的证书私钥名称.key"
            }
          ]
        }
      },
      "sniffing": {
        "enabled": true,
        "destOverride": [
          "http",
          "tls"
        ]
      }
    }
  ],
  "outbounds": [
    {
      "protocol": "freedom"
    }
  ]
}
注意:这里证书路径为/conf/ssl/exp.crt等
ssl(目录)
在该目录下存放你的公私钥,大致如下图
ssl/exp.crt
ssl/exp.key

start.sh
启动脚本,可以不需要更改如下即可
#!/bin/bash
cp /conf/web.conf /etc/nginx/conf.d/ && \
        service nginx restart && \
        mv /var/www/html/index.nginx-debian.html /var/www/html/index.html && \
        /data/xray/xray run -config /conf/config.json
web.conf
将其中的域名替换成你的
server
{
        listen 80;
        listen [::]:80;
        server_name 你的域名;
        return 301 https://$http_host$request_uri;

        access_log  /dev/null;
        error_log  /dev/null;
}

server
{
        listen 127.0.0.1:60000 proxy_protocol;
        listen 127.0.0.1:60001 http2 proxy_protocol;
        server_name 你的域名;
        index index.html index.htm index.php default.php default.htm default.html;
        root /var/www/html;
        add_header Strict-Transport-Security "max-age=63072000" always;

        location ~ .*\.(gif|jpg|jpeg|png|bmp|swf)$
        {
                expires   30d;
                error_log off;
        }

        location ~ .*\.(js|css)?$
        {
                expires   12h;
                error_log off;
        }
}
配置完成后大致为
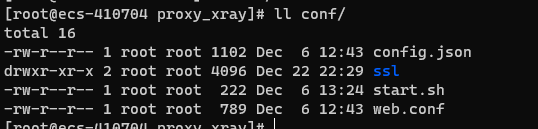
制作docker-compose 启动文件
docker-compose.yml 我这里启动了4个,如果你的vps内存空闲可以多启动即可,防止挂掉。
1001、1002、1003、1004 就是你设置的端口,可以按照你的习惯来
version: "3"
services:
    xray1:
        image: wjlin0/xray:v1
        restart: always
        hostname: xray
        container_name: xray1
        ports:
          - "1001:443"
        volumes:
          - ./conf:/conf
        command: ["/bin/bash","/conf/start.sh"]
    xray2:
          image: wjlin0/xray:v1
          restart: always
          hostname: xray
          container_name: xray2
          ports:
            - "1002:443"
          volumes:
            - ./conf:/conf
          command: ["/bin/bash","/conf/start.sh"]
    xray3:
          image: wjlin0/xray:v1
          restart: always
          hostname: xray
          container_name: xray3
          ports:
            - "1003:443"
          volumes:
            - ./conf:/conf
          command: ["/bin/bash","/conf/start.sh"]
    xray4:
          image: wjlin0/xray:v1
          restart: always
          hostname: xray
          container_name: xray4
          ports:
            - "1004:443"
          volumes:
            - ./conf:/conf
          command: ["/bin/bash","/conf/start.sh"]
启动
在docker-compose.yml 目录下

docker-compose up -d

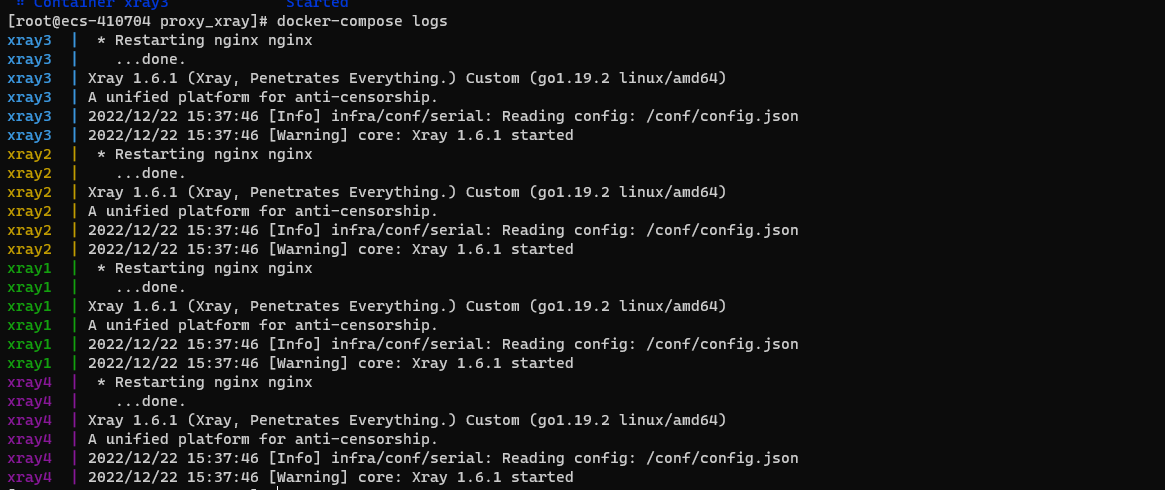
查看状态
若出现下列图片中的情况则为启动成功了
docker-compose logs
客户端选择
订阅链接设置
vless://你的ID@你的域名:你设置的端口?flow=xtls-rprx-direct&host=&security=xtls&sni=